
There are many great audio workstations and cubase is the best. Lets discover cubase and talk about whats good about it.
New Project
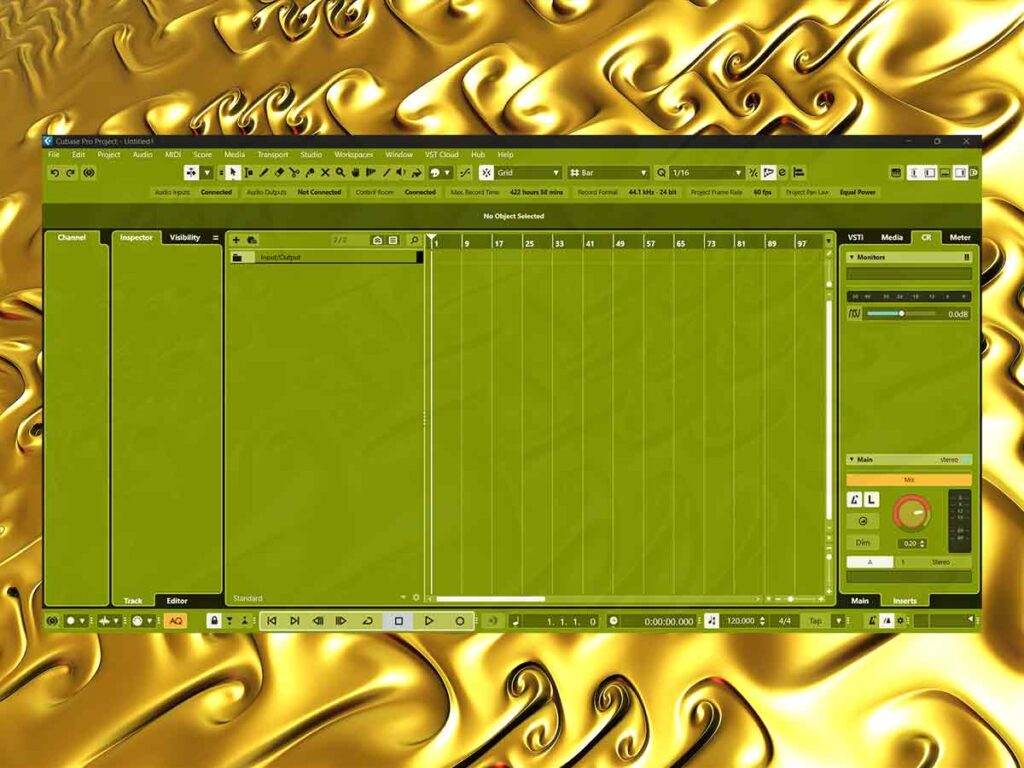
The first screen shows us that the tempo is 120 and the time signature is 4/4. We can change these values, for example we can set it to 102 Bpm and 3/4. There are no instruments yet so we’ll need to download some samples for the sampler track. We should also download and install some VST3 instruments for the great quality.
We should find a name for the track so that we can save it. Now lets create a piano track and record the chords. We can gain stage and mix as we go. Next lets record midis for drum sampler tracks and a sub. Lets check all the midi blocks are good and quantized properly. We can save and leave this project for now and next time we can record audio on it.
Audio Recording | Cubase
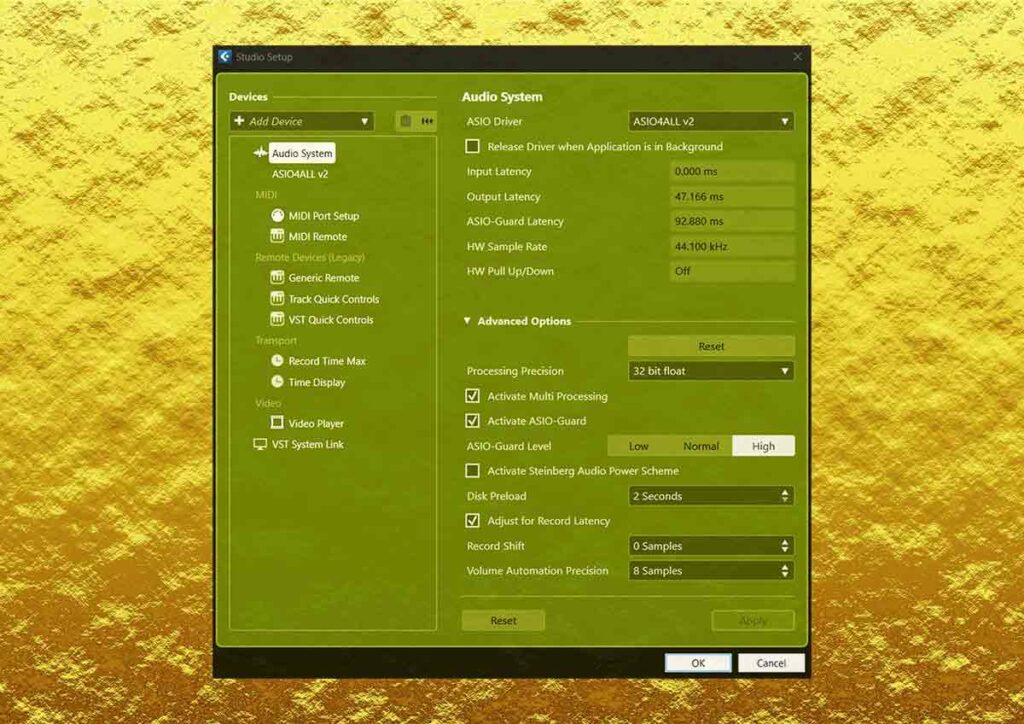
We’ll need our audio interface and cables. The audio driver needs to be on the computer and we’ll need to connect the cables. Then we’ll need to record 3 guitar tracks and a bass track. After we record it we can click on the track and create warp markers with audio warp. This is so we can quantize the audio like midi. After we quantize all the tracks we can mix the audio.
Side Chain Compression | Cubase
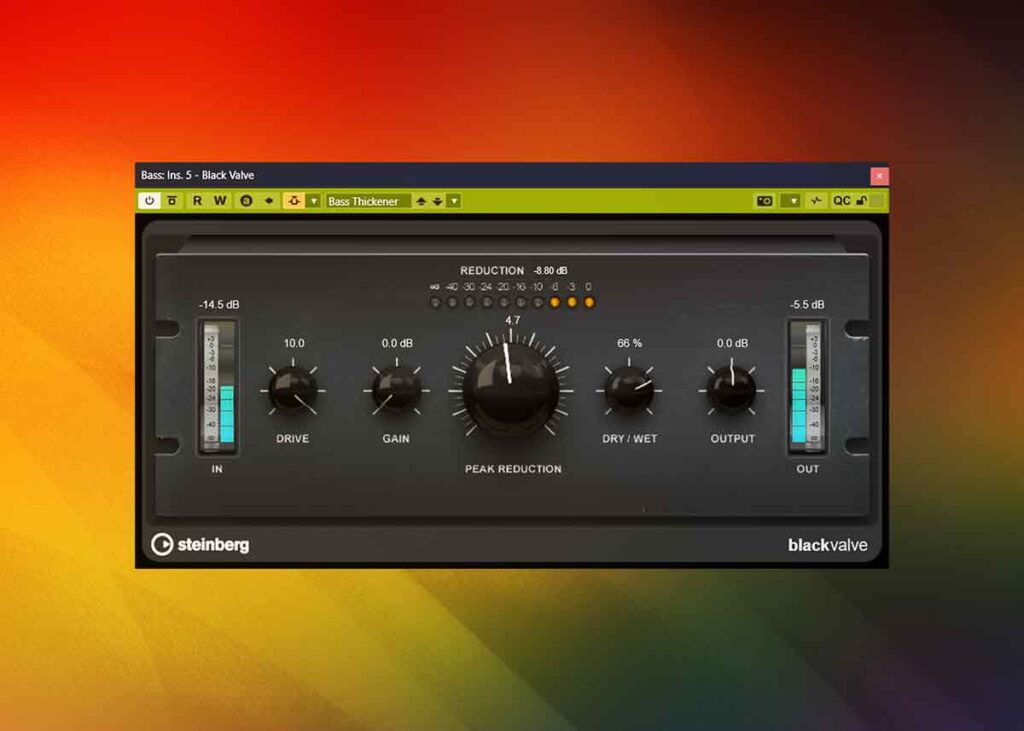
Now we can duck the sub instruments with the kick so it takes priority in the mix. Lets solo the sub and kick so we can focus on this sound. We can put a compressor on the sub and set up the kick sidechain. Then we can do the same with the bass guitar.
Last Work
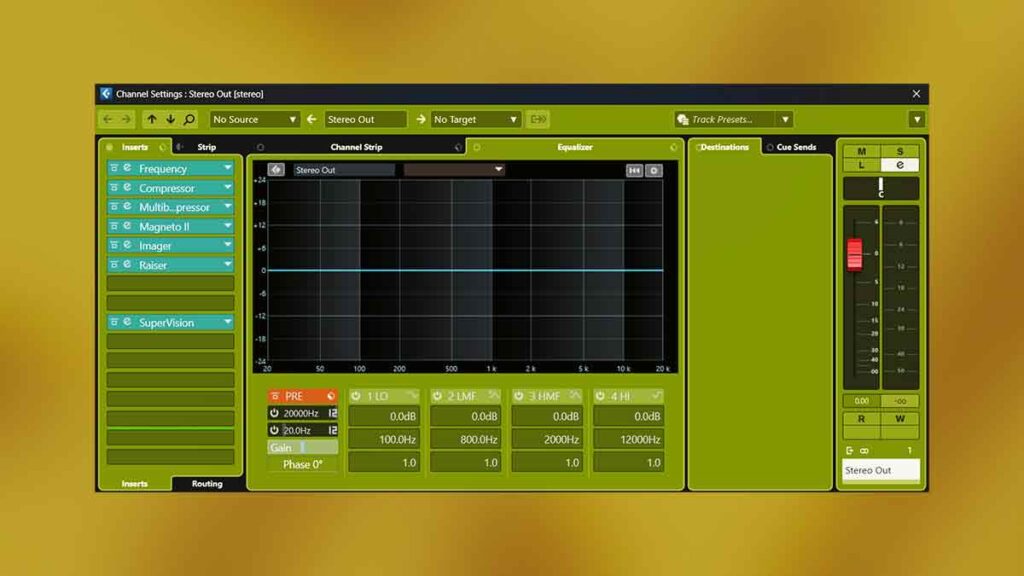
Once its finished we can master it either manually or with Ozone. We can keep working on it after the master but the cpu load might be heavy. We can disable all plugins with the bypass plugins button and this will lighten the cpu again. Now the track is complete and we can export the mixdown.