We need to set all the tracks to the right volume levels in the mix. Some instruments use up more frequency range than others. We’ll want to be able to hear each track clearly. So lets discover how we can get the best volume level for each track and see whats good about levels.
Piano | Levels

Out of all tracks, the piano uses the most frequency and is the loudest track. The piano sounds great as a solo instrument because of its frequency range but it could drown out other tracks in the mix. We could take turns between the piano rhythm or guitar rhythm. Or we could make the rhythm guitar louder with more compression and fx sends.
Guitars

We can make the guitars loud and clear like the pianos. We can send them to multiple fx channels, some with compressors and another set with modulation + compression. They can have some extra gain stage and can peak at around -12dbs.
Bass | Levels

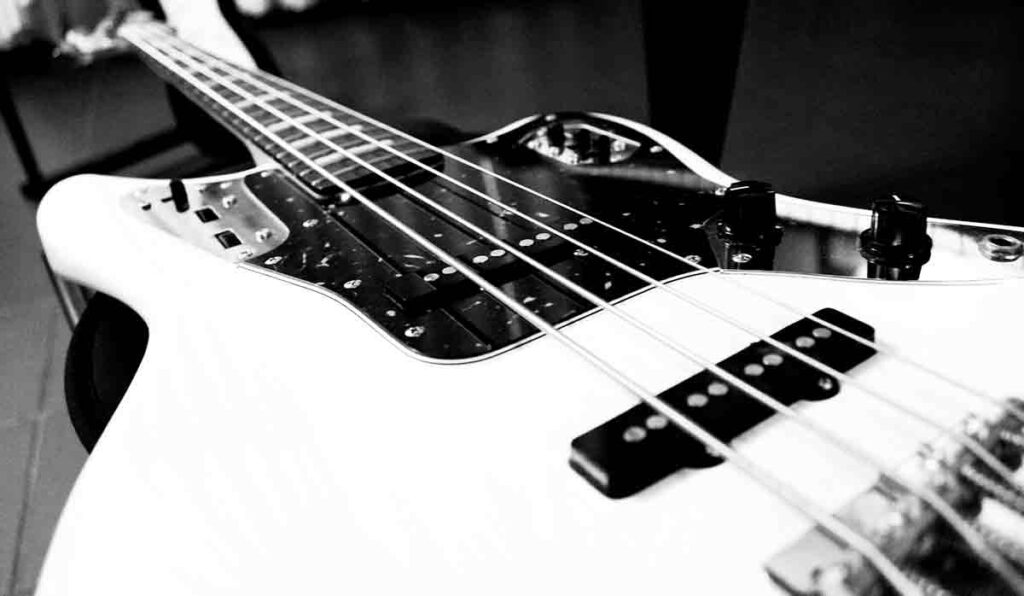
Its very important to have good and loud bass tracks. We can make the bass guitar stand out more by copying the notes to a synthesizer using Variaudio in Cubase. The bass can also have some extra gain stage at around -12dbs. Now we can hear all of the notes and the track sounds a lot better.
Drums

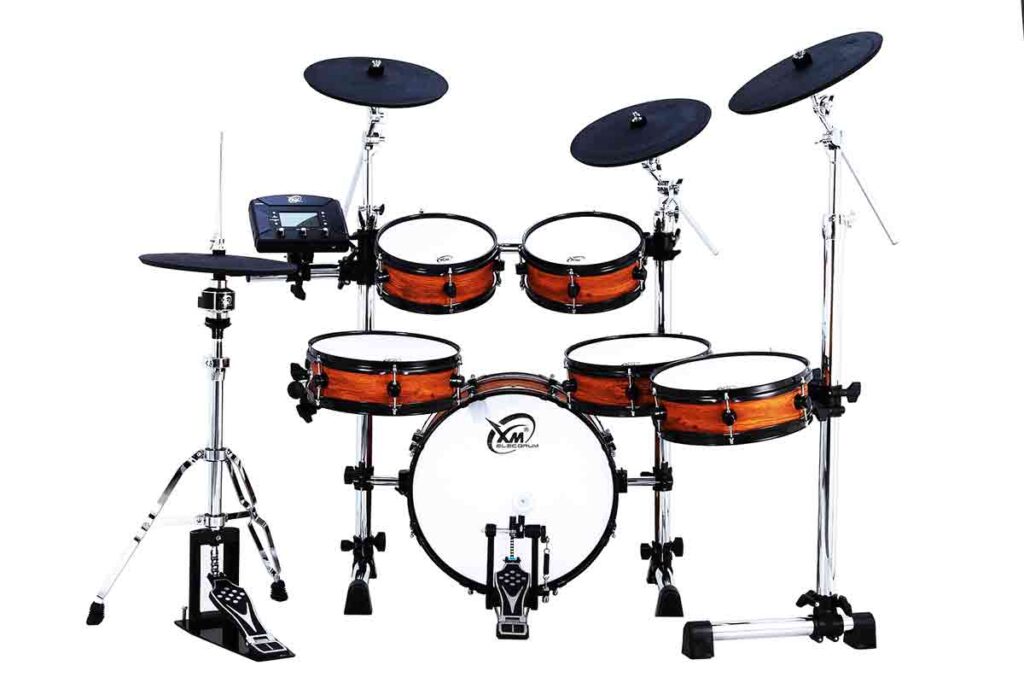
We can give the kick drum some extra gain stage so it will be louder. The drum tracks can go to a Drum Group track and we can put some effects on the group track. Maybe some distortion for some character and for sure some compression to glue the tracks together. We can use multiple compressors to tame the dynamics and the drums can actually sound louder. We can also use an envelope follower modulator on 3 of the bands to get the group to bounce more.


