Its time the final mixing, mastering and checks on our track. And then we can publish the track. So lets load our best mastering effects chain on the mix bus. Now lets talk about the mix bus and see why it is good.
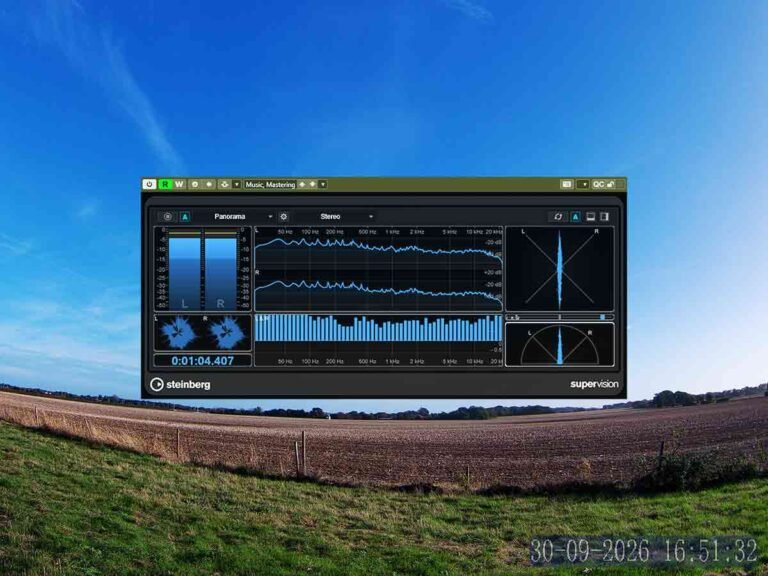
Supervision and Limiter
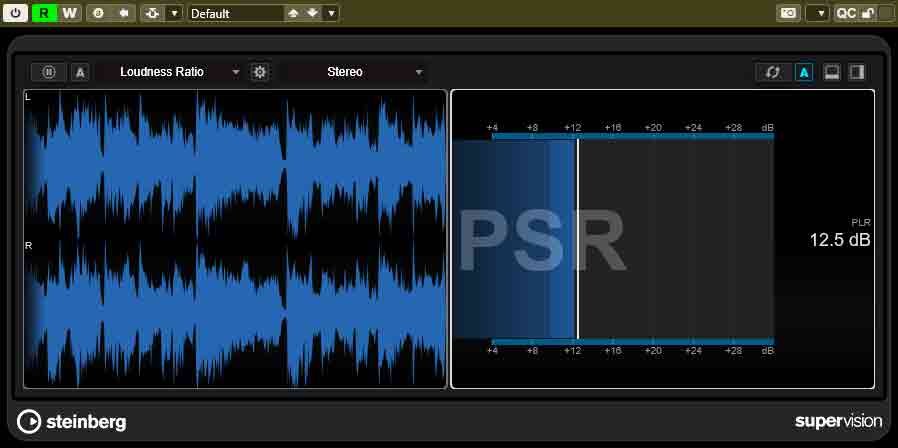
First lets check the PSR level of our mix. A good number for it to be is between 12 and 13. Because we don’t want the mix to overload the compressors that we’ll add to the mix bus.
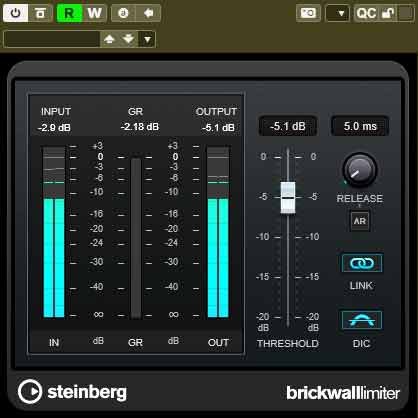
If its too high lets add the brickwall limiter as the first plugin on the bus and cut the level a bit. Now the PSR level is good and we can move onto the next plugins on the bus.
Equalisers | Mix Bus
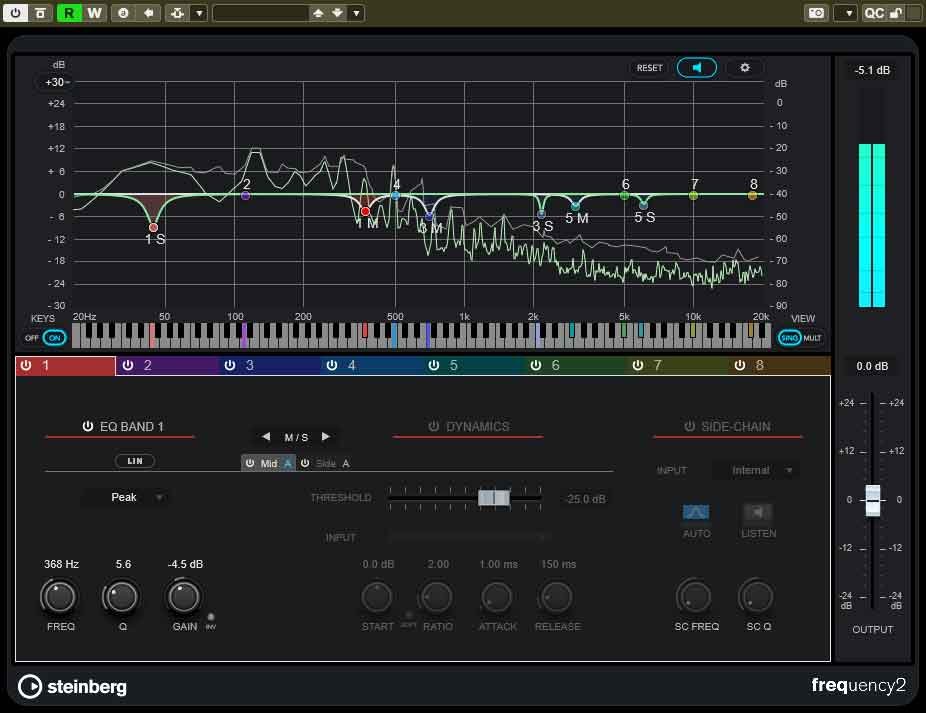
Lets use our first equaliser find problematic frequencies and cut them. We can make the Q factor low so that we’re only making small adjustments. The adjustments will pay off later after we add the rest of the plugins.
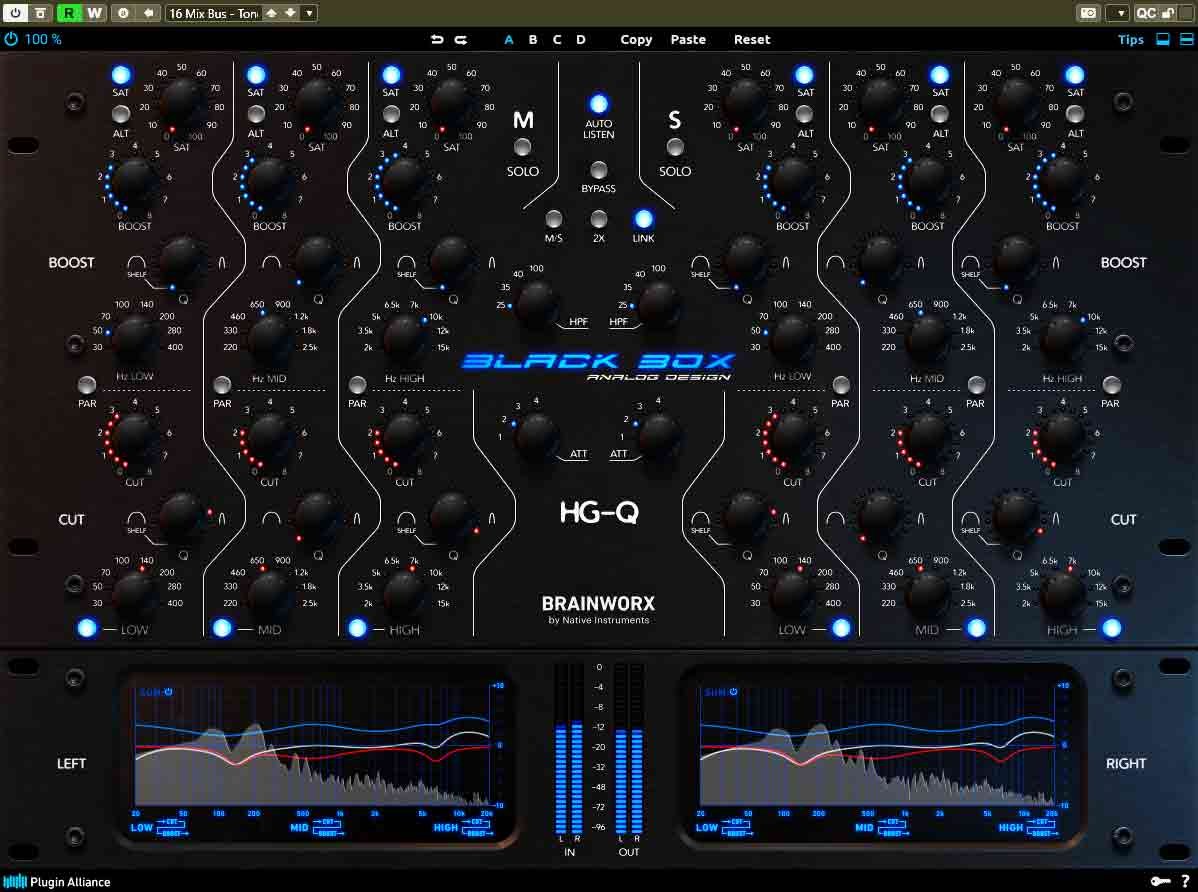
Now we can use our second equaliser to add character to our mix and just make it sound better. We have so many great equalisers to choose from. Frequency is a good choice for both equalisers.
Saturation
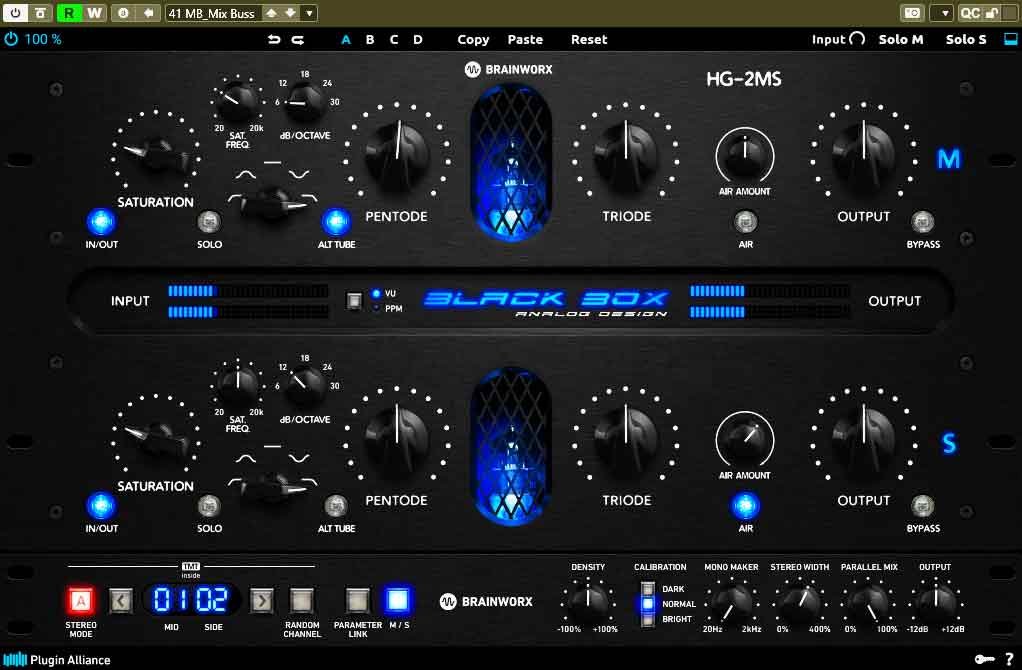
Now lets add some more character to it with saturation. This will warm the mix and boost certain parts of the it. The black box will be good for this and it also has a lot of good presets to help us.
Compressors | Mix Bus
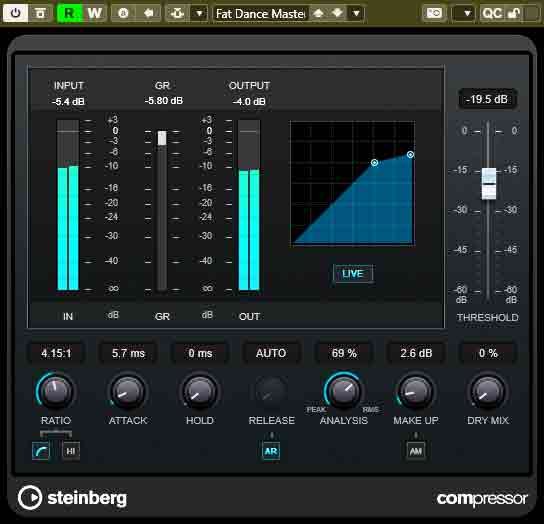
The compressors will glue the mix together and enhance the rhythm. We could add a compressor then multiband compressor. Or just add one compressor. Or 2 compressors.
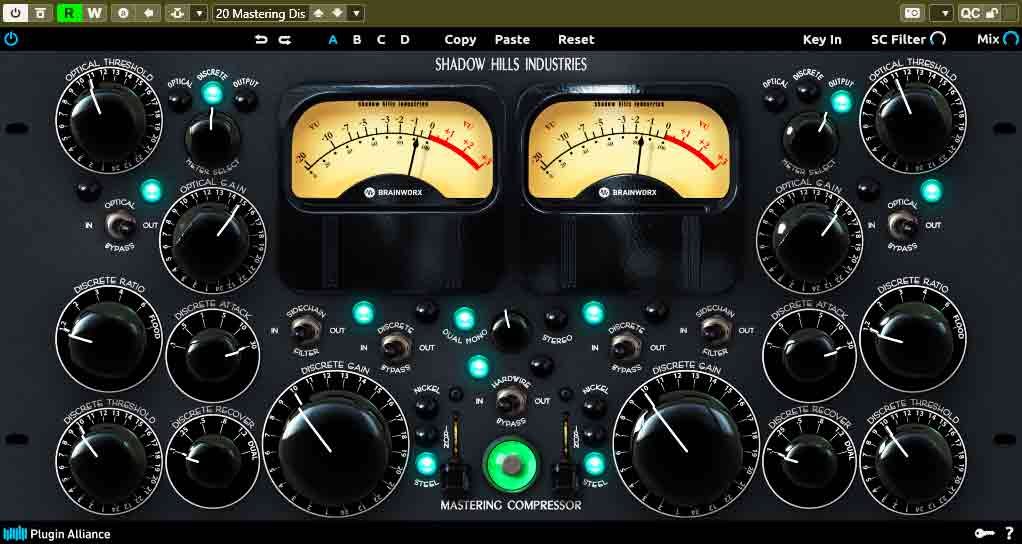
Now the mix sounds great lets go to the final plugins.
More Saturation
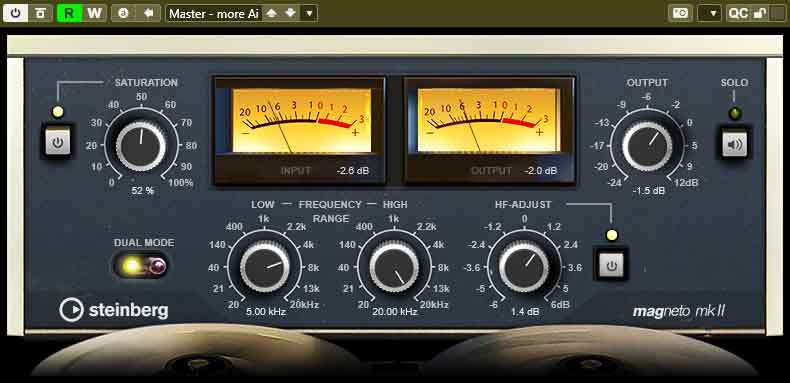
Magneto 2 is a good choice for saturation here because it can add the last bit of character to the sound.
Imager | Mix Bus
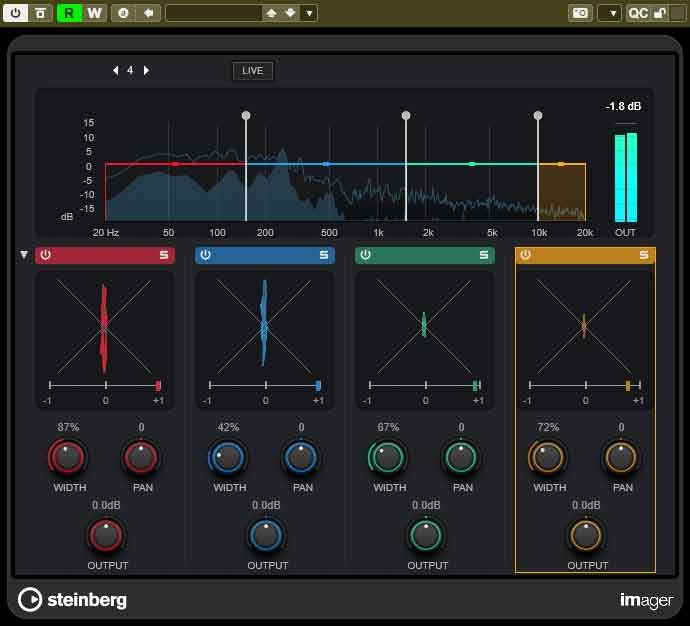
We can use the imager to adjust the stereo image of our mix. Or we might not want to use the imager.
Limiter
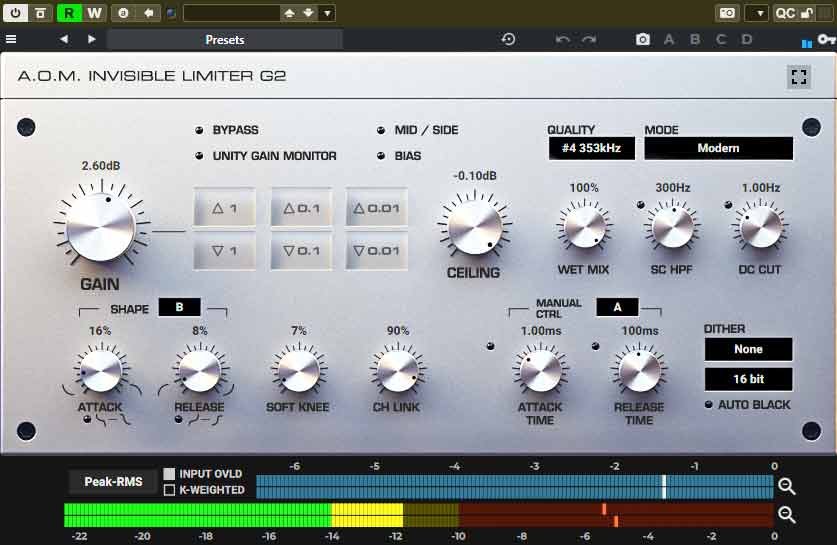
And finally the limiter. This will boost our track without letting it clip the mix bus.
About the Author