First lets set up the audio interface device, connect the usb and audio cables. Switch the driver to the audio interface and create an audio track. Also, enable direct monitor on the audio interface for a nice mix of the volume from Cubase and whatever we’re recording.
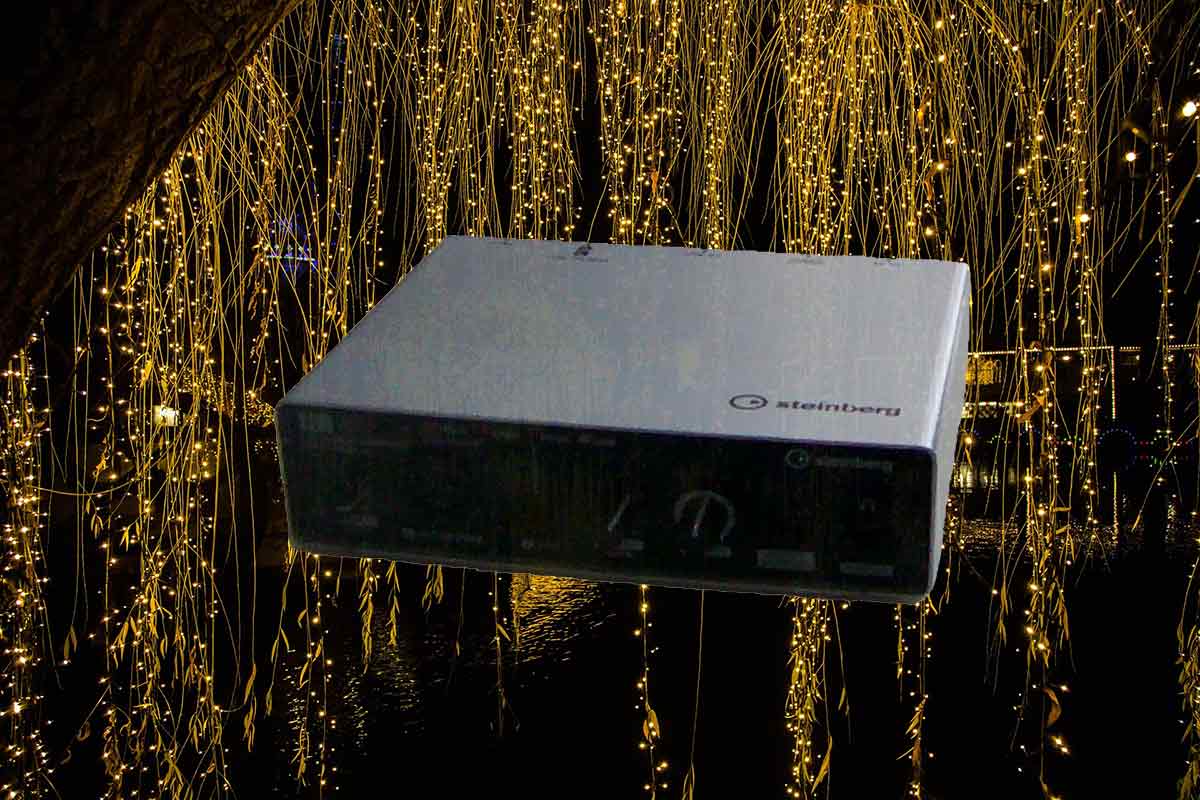
🎛Audio Interface🎛 | Audio Recording

This device transfers power and also audio through usb. It can capture high quality recordings of guitar, bass and vocals. Audio interfaces have their own sound and also sometimes special features like volume meters with lights. 😀This device is great because it sounds amazing😀.
🔌Cables | Audio Recording🔌
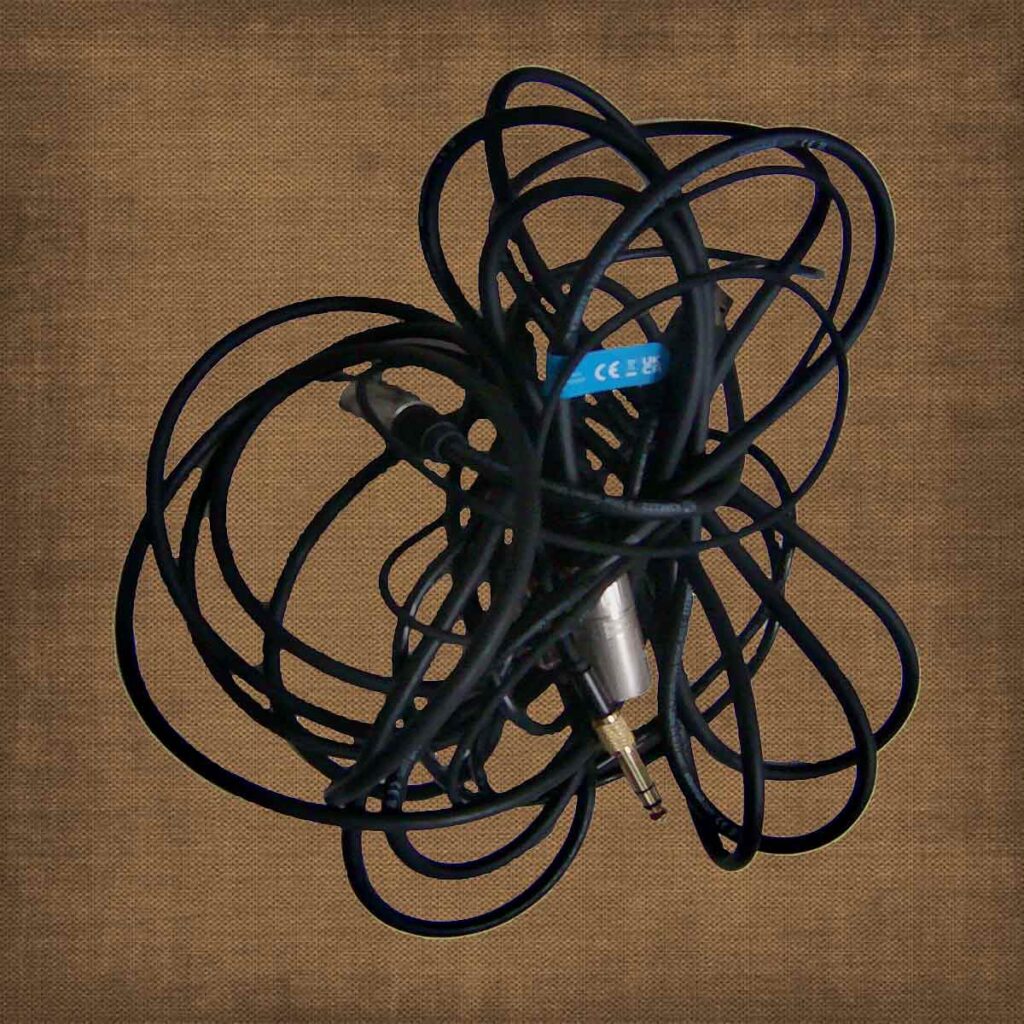
There is my guitar audio cable, usb cable, xlr/microphone cable, headphones cable and 3.5 audio jack converter. They’re high quality cables great for practicing, performing and recording.
🎸Acoustic/Electric Guitar | Audio Recording🎸

Name the track – Guitar, right click on the send box and send it to a compressor. Set the compressor to 100% mix. The Acoustic Guitar has a tuner built in so thats nice and quick to tune. Use a virtual piano to tune the electric guitar with the virtual keyboard(alt+k). The guitar should sound good now and be at a nice volume level.
🎧Bass Guitar | Audio Recording🎧
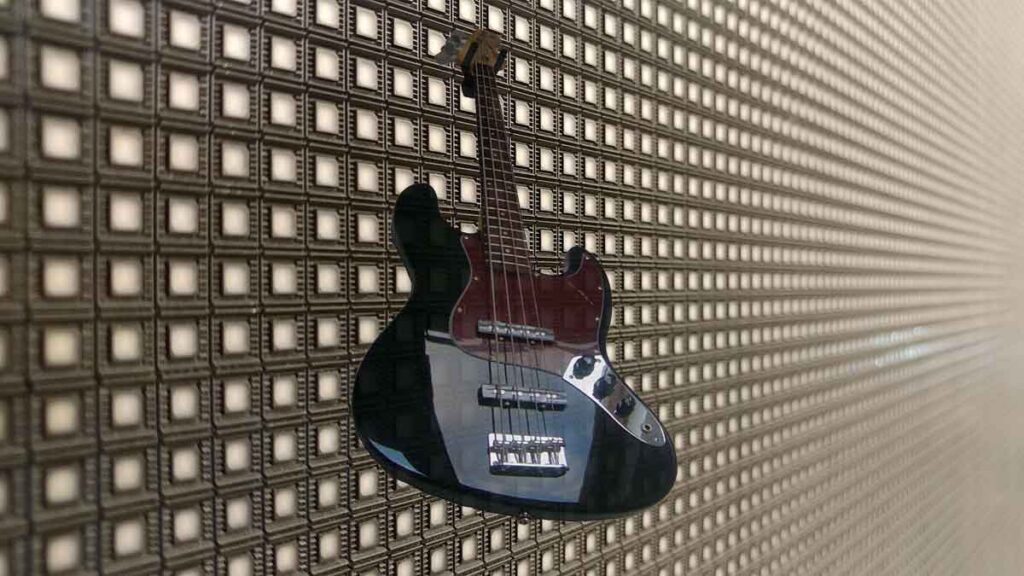
If theres not already a sub/bass on the project name the track ‘Bass’. If theres already a sub on the project name the bass ‘Top Bass’ and use the stereo delay plugin to widen the sound. Put a compressor directly on the channel. I like to use R-Bass or Black Valve for this.
🎙Vocals🎙| Audio Recording
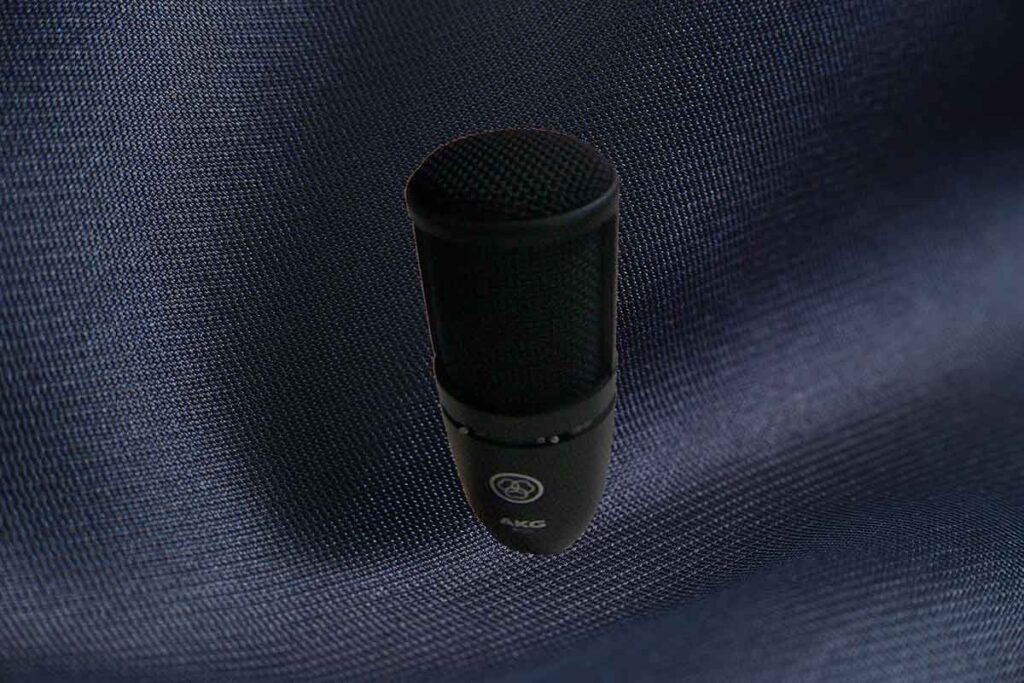
Connect the XLR cable from the audio interface device to the microphone and enable +48v phantom power. Name the track with your initials and record the track. After that, send the track to a compressor with 100% mix and get a nice volume level for the vocals.